Hi everyone, here's a quick and simple last minute gift idea for you.
I took Costco chocolates and a plastic gift bag from IKEA to make my gifties. Aren't they darling?
The snowflakes are cut from Spellbinders Create a Flake die set, there are four dies in this set and I used three of the graduated snowflakes.
Each snowflake has been cut three times and glued together to form a nice sturdy little flake. I then covered the tops with glue and dipped them in Stampin' Up Dazzling Diamonds dust attached them to the bags with Glue Dots.
To finish them off I cut a swirl from Marianne Designs Creatables Vintage Swirls from Stampin' Up Silver Glitter paper. Oh my this just finishes them off perfectly.
So here you have it a quick and simple gift that shows you took a little time to kick it up into something sweet and personal. Merry Christmas everyone! (and if you don't celebrate Christmas at your house snowflakes are around long after Christmas so fill your bags with New Years treats and surprise someone with this sweet little intro into the New Year.
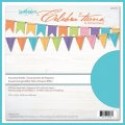
Supplies: S5-236: Spellbinders Create a Flake dies LR0271: Marianne Designs Creatables Anja's Vintage Swirls SCP-013: Spellbinders Celebra'tions Whirl White Cardstock
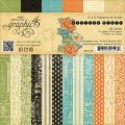
Today I'm sharing a new mini created with Graphic 45's Botanicabella Collection and their Black Tag Album. I used one of Sa Crafters arrows across the front and added a flower cut from the decorative paper using Heartfelt Creations Blazing Poppy die.
I used an old sheet that I'd been saving for the binding. I sprayed the sheet with Tim Holtz Distress Stains in Ground Espresso, Abandoned Coral and Fossilized Amber. The dyed and dried sheet was torn to a one inch strip and woven through the binding hole and then knotted securely. I then tore the tails into thin strips which causes the great fraying and distress look. The charms were gifted to me from my friend Julie. They were a plain silver but I used Alcohol inks to co-ordinate with the colors of the mini. Worked great.
There are eight double sided spreads and each page has the same tag cut from Spellbinders Celebra'tions Cuddle Cream paper using Spellbinders Labels Thirty-six and inking the edges with Ground Espresso
I hope you'll join me on today's video there is so much more to share and many more still photos to inspire you.
Supplies from the Cut at Home Store:
4501166: Graphic 45 Botanicabella 12s12 Deluxe Dollector's Edition Pad
Today I'm sharing Graphic 45's Mon Amour collection paired with a variety of dies to create my card and envelope. This is a 6"x6" card base and I used my fav Whirl White cardstock from Spellbinders Celebra'tions line for the base and envelope.
The flower comes from Heartfelt Creations Blazing Poppy die and the flourishes are from Marianne Designs Vintage Swirls dies.
With the addition of some Pearls, Glossy Accents and a little glitter my card's done. Come join me on the video, I'll share my supplies, my plan and the finished card.
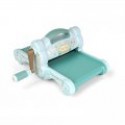
On today's video I'll share four cards designed with Spellbinders Holiday Holly Frame dies, Graphic 45's Christmas Carol collection and Sizzix Stripes Embossing folder. Each of my cards are 5"x7" a little larger than my norm but the Holly Frame is larger and needs more room to show off it's gorgeous details.
For the card bases and the frame die cuts I used Spellbinders Celebra'tions Whirl White and Cuddle Cream cardstock. This cardstock is fast becoming one of my favorites. The finish is smooth and it handles score marks and folds like a dream. I'd say add this to your crafty wish list for sure.
I found Snow-Tex from DecoArt at my local craft store and used it to add the look of snow to my cards. I really think I like the Aleene's Glitter Snow better, it's easier, in my opinion, to work with. I wasn't able to find it at this time of year locally and the Snow-Tex works it's just more fiddly. I also used Frosted Lace Stickles to go over the printed snowflakes that are printed on the paper. I did a lot of fussy cutting for these cards and added pieces of the cut aparts from the collection for sentiment spots or greeting spots on the inside.
If you have older collections be sure and check to see if any of the patterns match up to the new or if you can add any of the images. I didn't want to cut the first page of the Christmas Carol collection up yet I loved the yellow snowflake dots on the red background that was on the back. When I went pawing through my old collections I found this print in the Christmas Emporium collection and on the reverse side were these darling little girls. I used the yellow snowflakes and red on the mat below and fussy cut girls on the reverse side of the paper for the inside above. So nice to have things work together and Graphic 45 is wonderful about being able to interchange collections (based on color or design) from present and past collections.
Come and join me on today's video, I have four cards to share with you, one we will make together. I'll walk through the other three with you and I'll share any tips I learned in the process with you. There are lots more photos to inspire you to get started on your Christmas card making too!
Today I'm sharing 3 cards with you using Spellbinders Victorian Arch dies and Graphic 45 collections, Steampunk Debutante, Artisan Style and Gilded Lady. All cards are 5"x7" two on Kraft card bases and one on white.
Today's video will have a start to finish for the Steampunk Debutante card and still photos for inspiration of the other two. I hope you'll join me there. All supplies can be found on my Cut at Home blog post.
Thanks for joining me today everyone, have fun crafting with your favorite products!
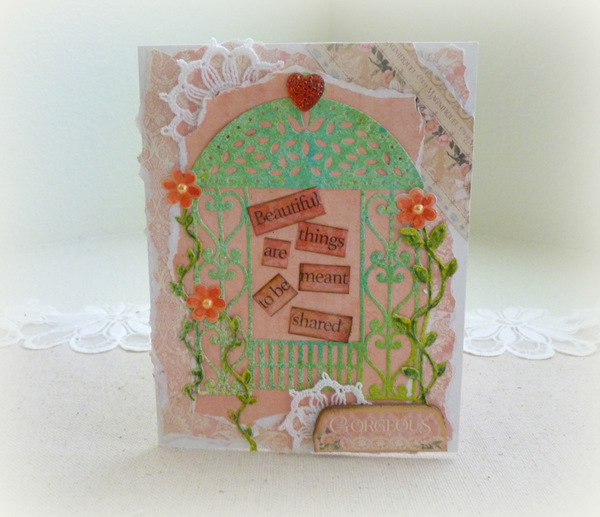
Today's project for Cut at Home features a new die set from Spellbinders Shapeabilites called Floral Gazebo, it's part of the Victorian collection. You get seven dies including the gazebo, vines, flowers, heart and bird. I've made a standard A2 sized card on white card stock.
Along with the Spellbinders dies I chose papers from Graphic 45's Gilded Lily and sentiments from Heartfelt Creations Blazing Poppy. All the mats were torn to reveal the white core of the paper and give a nice framework.
Come join me on the video and we'll create the card together and perhaps I'll share a few other tips I use that you've not tried yet. For links to the supplies used from the store please check out the Cut at Home Blog
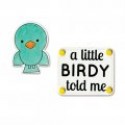
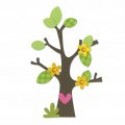
Today's card features dies from Sizzix's BigZ die Tree and their Framelits set with stamps, A Little Birdy Told Me. Sizzix has posted a PDF Instruction sheet to help you recreate their card and the one I followed today.
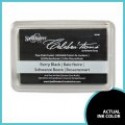
You'll have dies for all the elements in the card including those darling little birds. Just stamp them with a good ink such as Spellbinders Celebra'tions Berry Black, let the ink dry and then color with whichever medium you prefer. For my birds I used several Tim Holtz Distress inks and a waterbrush adding the additional fussy cut beak from an orange cardstock and accenting them with Glossy Accents. I list the supplies I used from Cut at Home below.
Come join me on the video, we'll go over the supplies together and then I'll do a complete start to finish on how to make this card which will truly bring a smile to whomevers mailbox it arrives in.
I love going home to Washington State to visit my family and friends and I'll soon be on the plane winging my way there for a three week visit. I also find it so funny because it never fails when it gets close to departure my daughters will say, Mom do you have any cards you're bringing, I'm all out. I usually take a supply of hand made cards whenever I go and today's cards, yep they'll be going in the suitcase as well.
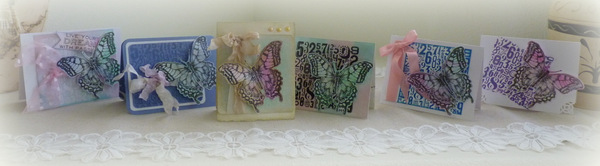
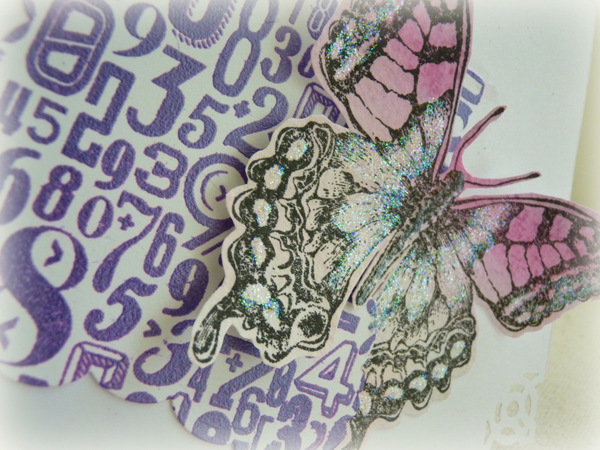
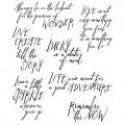
This weeks project seemed to grow, I decided I wanted to use all the sentiments in the Tim Holtz Stampers Anonymous set Perspectives but I exceeded that and had to grab a couple from his Handwritten Thoughts. I had thought I'd use these only on my Art Journal pages but once I saw the stamps in person I knew I'd be using them for many projects, including cards.
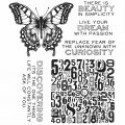
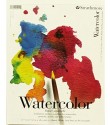
It's going to take you no time at all to see the theme of my cards was the butterfly. How gorgeous is this stamp? It measures 4" square! I used Strthmore's coldpress Watercolor paper to stamp the butterflies on. It's very thick and textured and was so perfect. Of course before I stamped them I colored it up with Cracked Pistachio, Tumbled Glass, Spun Sugar, Shaded Lilac and Picked Raspberry Distress Inks. This is a newer venture for me so I'd add too many spritzes of water and then wiped too much away with my towel. But I left it on the video so you could see how easy it was to add additional color until I got it to my liking.
Besides using the butterfly on all six of my cards I also used the number stamp, which is another large 4" square stamp. I embossed each number mat with different colored embossing powders from Stampendous and Lindy's.
One thing I did learn was when using chunky embossing powder heat and melt it from under the paper instead of above. Above will blow it all over the place, ask me I know!
Come join me on the video where you'll see how I made each card, something I rarely film because it's so time intensive. It took me about 3 hours of filming to film the six cards progress start to finish and lots of clipping and editing to get it down to the 18 minutes I'm sharing with you. As always everyone I can't tell you how happy it makes me that yous stop by and share part of your day with me! I so appreciate each and everyone of you and all the love and support you give me for my projects. Get out your supplies and have fun crafting!!