Showing posts with label Masculine. Show all posts

Thursday, May 31, 2018

Authentique Accolade Collection - Scraps to Masculine Cards

a Country Craft Creations Design Team share

Well my friends I think this just about does it for the scraps from Authentique's Accolade collection  I have some stickers left and a few papers I'm saving for other masculine/graduation projects as time goes on.  I did want to leave you with a little inspiration for some guy cards since I know many of you struggle for ideas, as I do, for the guys in your life.


I made a total of 7 cards for you using up the scraps and stickers from the collection.  All cards are on a Kraft card base, 4" x 5 1/2".  Here I've fussy cut the hot air balloon and added some accents with thin black twine.  I used a sentiment stamp to tie it all together.


Inside was left pretty simple with just the fussy cut camera and some lined paper to write my greeting on.  I did ink all around the edges, inside and out with an espresso colored ink.


I wanted to give you some food for thought on the video (link at the bottom of the blog post).  I used two Distress Oxide inks and one regular Distress ink to color up the Accolade paper.  I moved the inks around using Tattered Angels Glimmermist in Dazzling Diamonds. 


Keep in mind when you're working with your papers you can always change up the colors by the use of mists and inks.  I love how these papers took to the blues.  A great guy card.  The stickers were from my stash.  They've been hanging around for eons just waiting for me to pluck them out and glue them down.  I'm not much of a packaged sticker person but after seeing how cute these cards turned out I'm thinking I may look at them a little closer when I see them in the close out bins.


I wanted to share one more card on the blog post and you can check out the video for the other four examples of using your scraps. In the 12x12" papers I had two of these flying pigs.  OMG aren't they adorable?  There's just something about a flying pig.  I knew I had to do a couple 'over the hill' cards for a birthday I'm belated on and one that's just around the corner.  I know both of the guy recipients are going to get a laugh out of them.  


I used those super cheap alpha stamps that you can get in the close out bins, I have several of them in my crafty stamp drawers.  The fonts are funky and fit perfectly with the little pig.  

Check out the video for a short how I did it with the Oxide inks and other examples to spur your imagination creating your own masculine cards from scraps.  Happy crafting and thanks so much for joining me today.  I know time is precious and you just don't realize how much I appreciate you all for sharing a little of your time with me!


Please visit Country Craft Creations here -
you can also join the Facebook groups

Visit me at A Soul's Heartbeat on


Friday, May 18, 2018

Authentique's Accolade Masculine Mini

A Country Craft Creations Design Team Project

Oh I have a fun project to share with you today.  I've spoken often about how much harder it is for me, and many of you, to make masculine projects.  Part of the problem is finding nice masculine type collections to work with.  Well today I've flipped Authentique's Accolade collection from the normal 'A' side designs we usually pick first to work with to the 'B' sides.  This is the side that normally compliments the primary designs.  The flip side of the Authentique Accolade collection is a wonderful collection of brown and beige very masculine looking papers.  I loved them and that's what I've used today for my mini.  


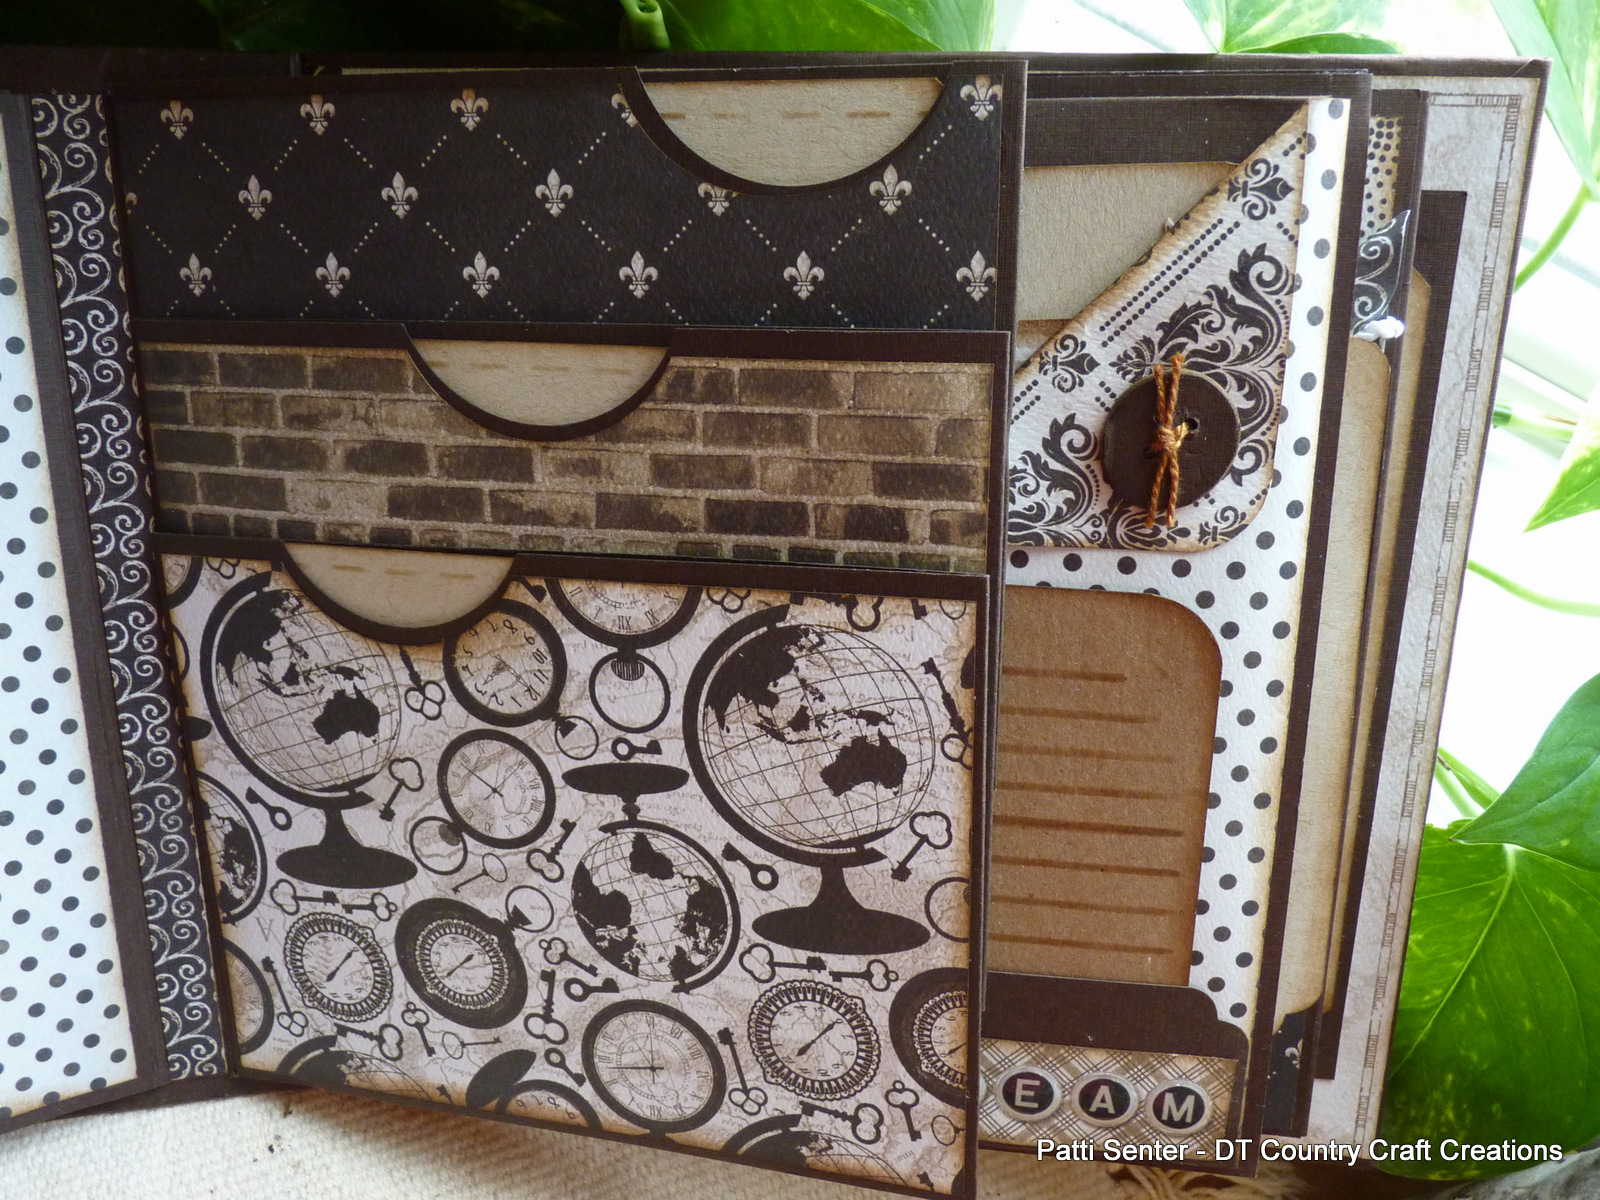
My mini is 8" square with a 3" spine allowing for 7 1/2" square pages, of which there are 5 full pages with the 6th split into 3 smaller flips, which I'll share in just a bit.  I've used 1/2" gussets between the pages which allows the book to lay nicely (see the photo below). 


I opted not to do a full blown tutorial for this mini since the main construction is so similar to many of my other tutorials you can check them out on my YouTube Playlists Page.  You might want to start with the How Do I Do That Playlist and branch out from there.  But as always, with anything I create, I'm always here to answer any questions or help solve any snags you may have in your creative process.  Never hesitate to drop me an email with questions, comments or concerns. And on that same line I love it when you share what you've made tailored after something I've shared!


I supplemented the main collection papers with Authentique Spectrum II and Artisan in Brown and Kraft.  Here's a two page spread with two different closures.  I was hoping to get the look of a belt on the right hand side.


Something I do often and really love the look is to cluster groupings of stickers and cut outs from the paper to create tuck in areas for photos or tags. 


This is where I split the hinge to make 3 small flaps.  This gives lot more movement and interest to your mini's.  I used a 2" circle punch to make the finger pulls for the inside mats.


A smaller pocket left open at the side creates a great slip in for the narrower mats and a huge area for a large mat or photo.  Since the pages measure 7.5" square there is lots of space for photos up to 7" square.  I only allowed for three of the pages to have large side pockets.  Since there is ample room within the page design to save lots of large photos I thought three kept the bulk down.


The keys on the tag shown here are also the keys I used to decorate the spine.  By fussy cutting these two keys and adding the one from the sticker sheet I have a fun element for the outside.  Snipping the top part of the keys and interlacing and gluing them gives the appearance of keys together.  I added a good layer of Glossy Accents.  The hanger is simply a very thin piece of Artisan brown paper twisted in the middle, looped around the keys and tucked under the canvas.  The secret is making sure you securely glue everything down.  I use my trusty Art Glitter glue, available in the store.


The spine is sticky back canvas Glimmermisted in browns.  I haven't used this before so was unsure how strong the sticky back was so chose to add a good layer of Art Glitter glue.


There's lots more to share with you so please pop on over to my video and watch the walk through of each page.  Thanks for joining me and have fun crafty day.  Be sure and check out the Authentique paper collections at Country Craft Creations.


Here's some ideas using the scraps for Graduation cards - 


Please visit Country Craft Creations here -
you can also join the Facebook groups

Visit me at A Soul's Heartbeat on


Tuesday, August 22, 2017

For the Guys in my Life

A Canvas Corp Brands CREW project share

If you're a repeat visitor here you've often heard me say what a challenge the guys in my family are to make for.  Well I think I solved that for one special fellow with this birthday card featuring Canvas Corp's Architextures papers.  Oh man are these fabulous for anything masculine you might have, not that us gals can't use them as well.


I'm only going to give you just a sneak peek because I'd really like you to pop on over to the Canvas Corp blog and check out the full post there.

I'd love for you to watch my YouTube video though, I'll share how I put this ultra dimensional card together and perhaps introduce you to some fabulous Canvas Corp products you might not be familiar with.  As always thanks so much for stopping by!


Supplies from the Canvas Corp Brands Store – 
7gypsies
Tattered Angels
Canvas Home Basics

Follow Canvas Corp Brands StoreBlog and Facebook Collective Group (this is a group you must request to join, but boy is it worth it!!!) Tattered Angels on Facebook and Instagram.Canvas Home Basics at Facebook and Instagram. 7gypsies at Facebook and Instagram.
Visit me at A Soul’s Heartbeat on BloggerFacebookYouTubePinterest and Instagram.

Wednesday, January 4, 2017

Authentique's Durable Collection transformed into Masculine Cards

a Country Crafts Creations design team project

I was chatting with Tammy Merrill, owner of Country Craft Creations, a few months backing and expressing how hard it is to find a Masculine paper collection and that's when she told me about Authentique's Durable collection.  It wasn't long after that she sent it to me to play with.  Well with family, friends and Holidays it took a back seat for a bit.  Today I'm here to share a dozen masculine cards made with it.  I love how grungy and manly they look, I hope you do as well.


There are all sorts of masculine images available in this paper line, it comes with 24 sheets of double sided 12" x 12" paper.  More than enough to make several dozen cards!

I also pulled out some packaging material, like the corrugated paper. If you don't want to fuss with making your own from a discarded box you can buy it from various manufactures but I like the rough look of the bits I torn apart.  I used leftover scraps of chipboard to pop up any of the pieces I wanted to give dimension to and tucked in bits of burlap and dyed twine here and there.  I also applied Glossy Accents in several places for effects.  I also used Distress inks on all torn or cut edges.  I just don't like to see the white edges show, but that's purely a personal choice of what appeals to you.

Another thing I incorporated on almost all the cards were Creative Embellishments arrows and gears. Any of you that follow my channels will remember I won a huge amount of their products before Christmas. This was my first chance to use them and it couldn't have been with a better project. I thought they added a lot to the cards. It's always fun to have something new you've won or been given to play with.  These elements were sprayed liberally with Tattered Angels Glimmer mists, I'll share this on video as well.


Today's video will walk you start to finish for the making of one card, that's at real time speed with me talking and give you ideas as I go along.  I will also be making 7 other cards on camera but in order to not have you nodding off due to the length I sped the video up so you'll see me moving in hyper speed but still be able to see how things were put together.  Off camera I used bits and pieces to finish the inside of the cards.  You'll see as you watch the video that I used several Tattered Angels Glimmer Mists to spray the card bases, oh wow that gives them such a glisten and makes the Kraft card base take on the color elements of the paper line.


You can see from the cards they all resemble one another because the same paper line and added elements are used throughout.  The change comes by how the elements, papers and greetings are placed and intermingled.  My hope is that this will give you lots of food for thought as you make your own set of masculine cards. Links to the supplies and store will be directly below the video.


Supplies from Country Craft Creations
Authentique Durable - http://tinyurl.com/z5sons9
Art Glitter Glue - http://tinyurl.com/h2dc7jy

Please visit Country Craft Creations here -
Country Craft Creations shoppe - http://countrycraftcreations.com/
you can also join the Facebook group
Scrapbookers of Country Craft Creations here - http://tinyurl.com/zhess6s

Visit me at A Soul's Heartbeat on

Supplies from my Stash -
Creative Embellishemnts - gears and arrows
Tattered Angels - various Glimmer Mists
Canvas Home Basics - Bulk Card Bases and Envelopes in Kraft
Tim Holtz Distress Inks in - Chipped Sapphire, Gathered Twig, Ground Espresso, Aged Mahogany
Glossy Accents
Dyed cord, Burlap,brads, etc.


Thursday, November 6, 2014

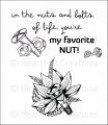
My Favorite Nut!

a Cut at Home Design Team Project

Here I am stuck again on making a masculine card when out of the crafty world appears Heartfelt Creations new collection called All Geared Up.  You could probably hear me at your house I was so excited.  I just love it when manufactures come out with grungy, manly papers!

This is the card I made for my friends birthday, I think it will be perfect since he's a real do it yourselfer.  I used a scrap from an old cardboard box to cut the gears from and love that look.  When you add a little Distress ink (I used Gathered Twigs and Evergreen Bough) it makes them look even more rusty and old.  Perfect!


Come and join me on the video, I'll share more ideas of how I created this card, fast forward so you can see it put together and end with a few more photos to inspire you to make some cards for those guys in your life today.


Tuesday, September 2, 2014

A Gentlemen's Box

a Meg's Garden Design Team Project


Today I'm sharing A Gentlemen's Box made with Kerry-Jean Watson's 
The Gentlemen Collection sold exclusively at


I used a premade box that I bought from JoAnn fabrics altering it with The Gentlemen Collection papers.  I love this paper collection so utterly masculine.  Inside the box I've added some distinctly masculine items.

A set of 4 coasters made from 3 layers of black chipboard,
covered with papers from the collection
and coated with several layers of Mod Podge 


A Matchbook with note paper for all those things
the man in your life might need to remember


And lastly a deck of cards
covered completely with the
fabulous masculine papers

Check out my video for a more detailed look
inside and out of this
Gentlemen's Box and contents


Supplies used: