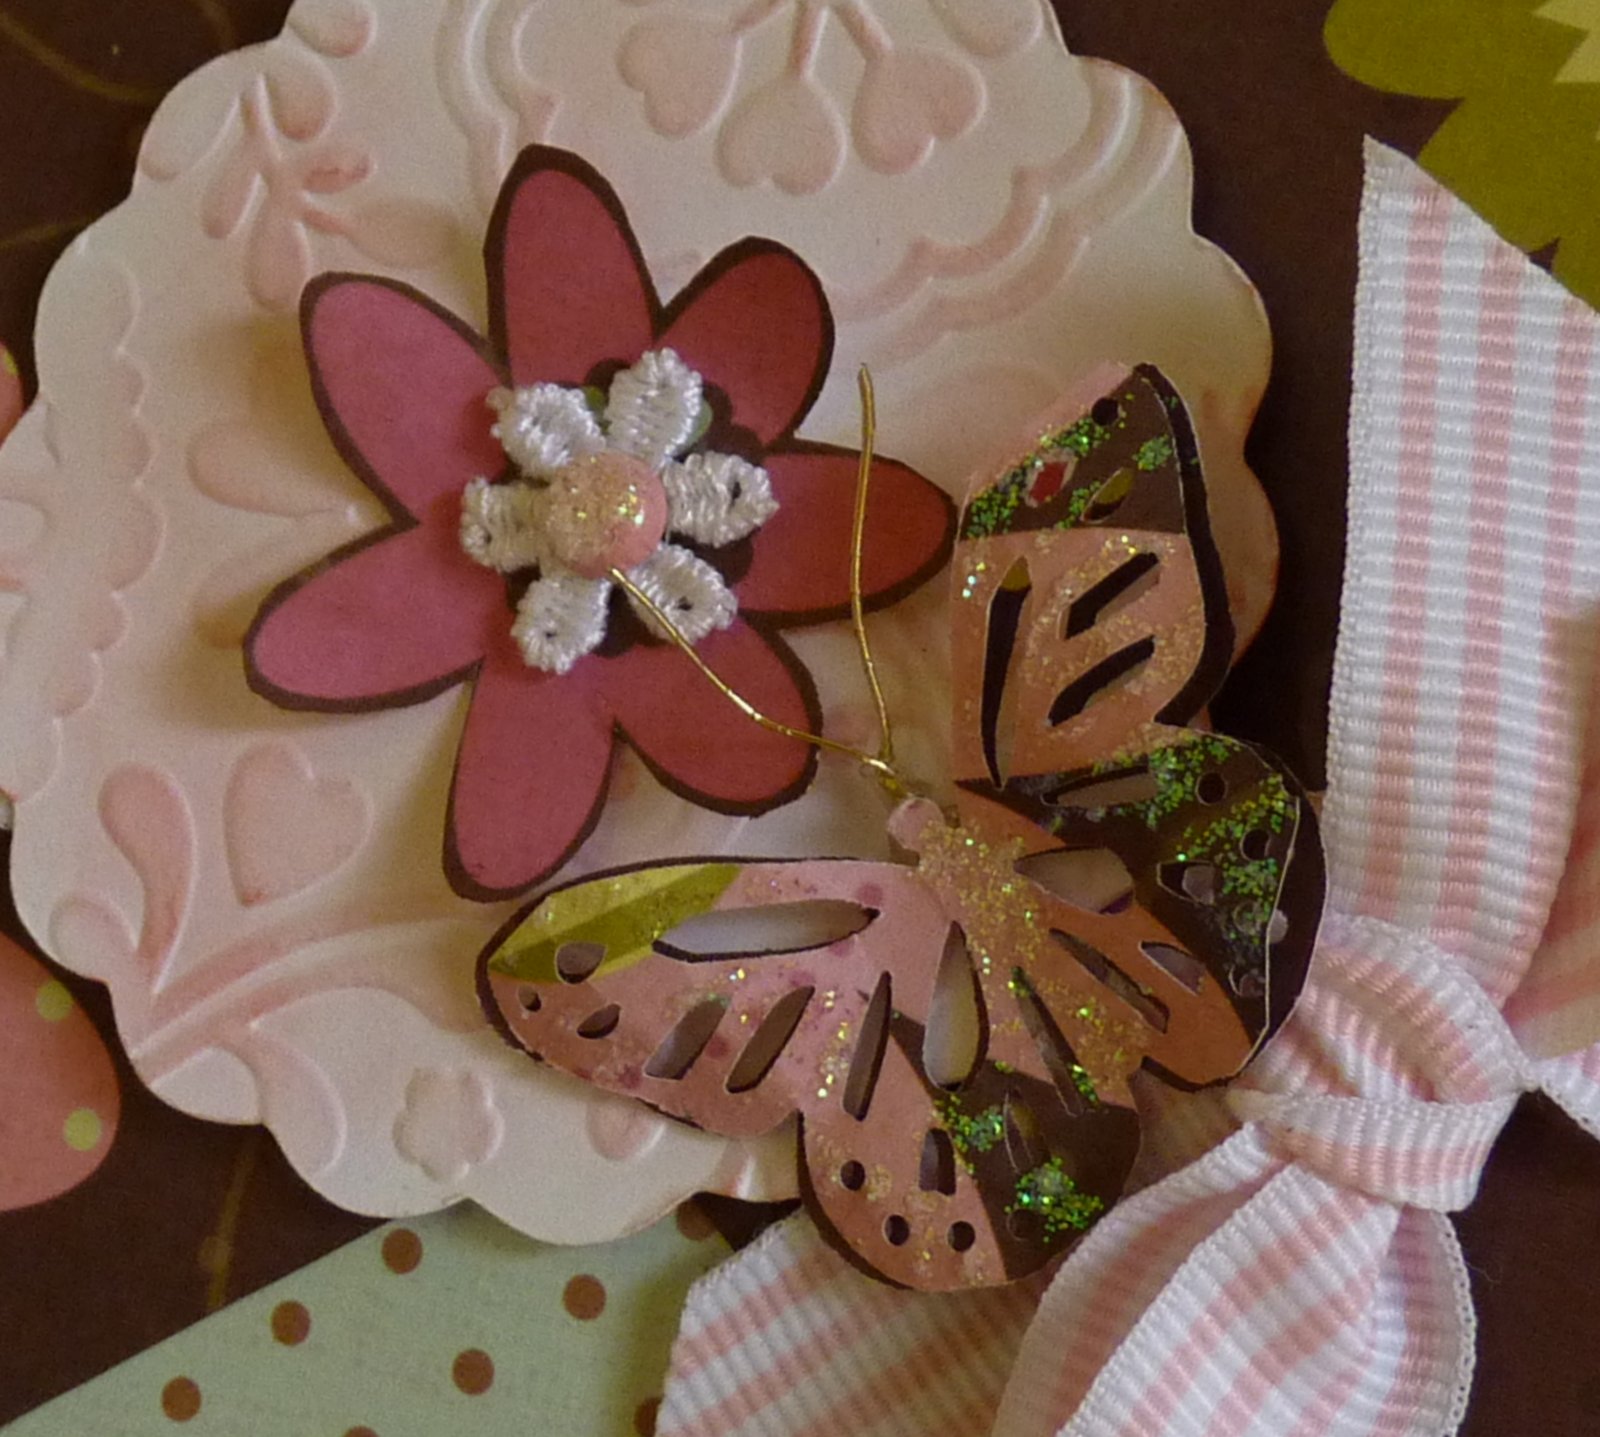
Black cardstock is embossed with Lifestyle Crafts
Dainty Embossing Folder and then coated with
Aleene's Collage Pauge (front/back covers
also covered with Collage Pauge)
Most pages made just using the papers
over the top of the paper bags
Little mini books stuck here and there to add
addition options for adding photos
I tore the paper and inked the edges with
Vintage Photo Distress ink, love how it turned out
Memories on the left is a small book, opened it reveals two
inner spots to host photos, pops close by
the hidden Basic Grey magnets
under the paper
Another little fold out booklet and envelope
Untied the inside has 3 spots for photos
Right side under the bow opens to reveal 3 photo spots,
Left side is fussy cut paper to form pocket for tag or photos
Typewriter has several layers of Glossy Accents
to give that wonderful glossy sheen and that
pop-off-the-page look
Hand has been fussy cut from paper and anchors with a brad
creating a swivel effect
Each top (the inside of the paper bags)
hold a large tag for journaling or photos.
Tagss have been cut using the Cricut and the
Elegant Edges Cartridge to form the
decorative edges across the tops
If you'd rather watch the YouTube video
of my mini I've included it as well
I wanted a mini for my new Great-Great Nephew
wow, does that make me sound old or what?
He's due to arrive in November
I found this 8x8 paper pak, Old MacDonald's Farm and
knew it would be perfect for a little boy album
I had intended to leave the front plain, since I had made
the decorated belly band to hold it together.
But after second thoughts I added some rows of
rub ons and this verse and of course a few
stickles, you gotta have stickles!
The darling little caricatures are cut on my Cricut
from Everyday Paper Dolls, Old West and Create a Critter cartridges.
I decided since the book was already a little puffy
I'd best add a tie to the side to keep it secure once
the baby's photos were added.
Most of the embelishments are fairly flat but it still takes
up a fair amount of room, especially when you're trying
to get it to fold into itself and become a box.
Loved the fence, made a perfect holder for the mat.
The sheep came from an old Debbie Mumm paper pak,
Noah's Ark and the little hanging sign was in a set of 4
I picked up at Tuesday Morning.
The tractor was too pristine when I cut it so I added
a good coat or two of clear embossing and when
cooled I cracked the embossing to give it that old look.
Yep, I know, his eyes are a little funky, but that's the fun
of making things they can be funky once in a while.
Added Glossy Accents and Stickles and a shot or two
of Lindy's to give it a glittery sheen.
Rub-ons look better with a little Stickles
This was cut on the Cricut and then several layers
of UTEE added, love how it looks like plastic now.
He's my favorite, I'd hung on to this one sheet of 6x6 paper
for eons and sure enough it made just the right texture
for the wool on this little fellow.
The little puffy cloud is from Martha Stewart, it came with the
stars and crescent moons that are on other pages.
Love the kitty, he'll hold the baby's photo real snug.
And doesn't this little puppy just make you smile?
Thanks to the talent of the Peachy Keen designers and their
wonderful face stamps!
And of course the farm had to have a pig...
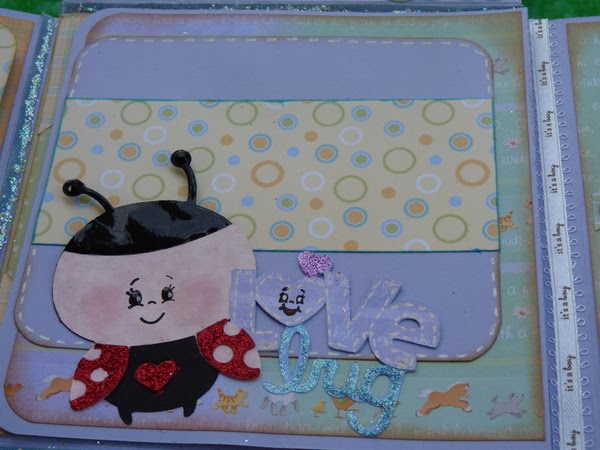
and a love bug...
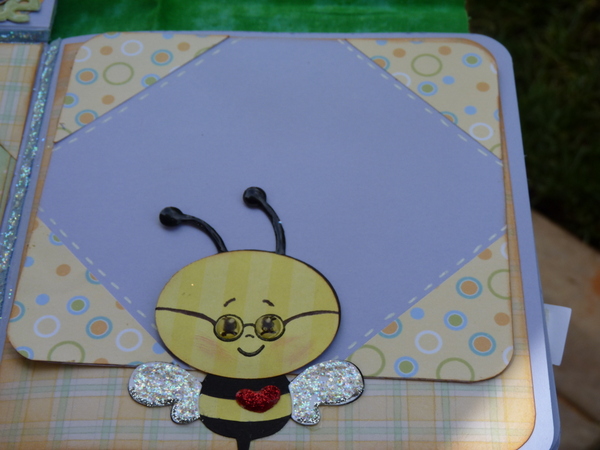
and a bee (with Ice Stickle wings!)
Thanks for stopping by and taking a look at my little boxed mini.
After I had cut my shoes out with the Forever Young cart on my Cricut I had the reverse on the paper, so I laid it on a mat and used Tattered Angels leather mist on it. I really like the way it turned out.
The sentiment on the hat if from a Fiskars stamp pack. I believe the ribbon strip is a self sticking Martha Stewart ribbon.
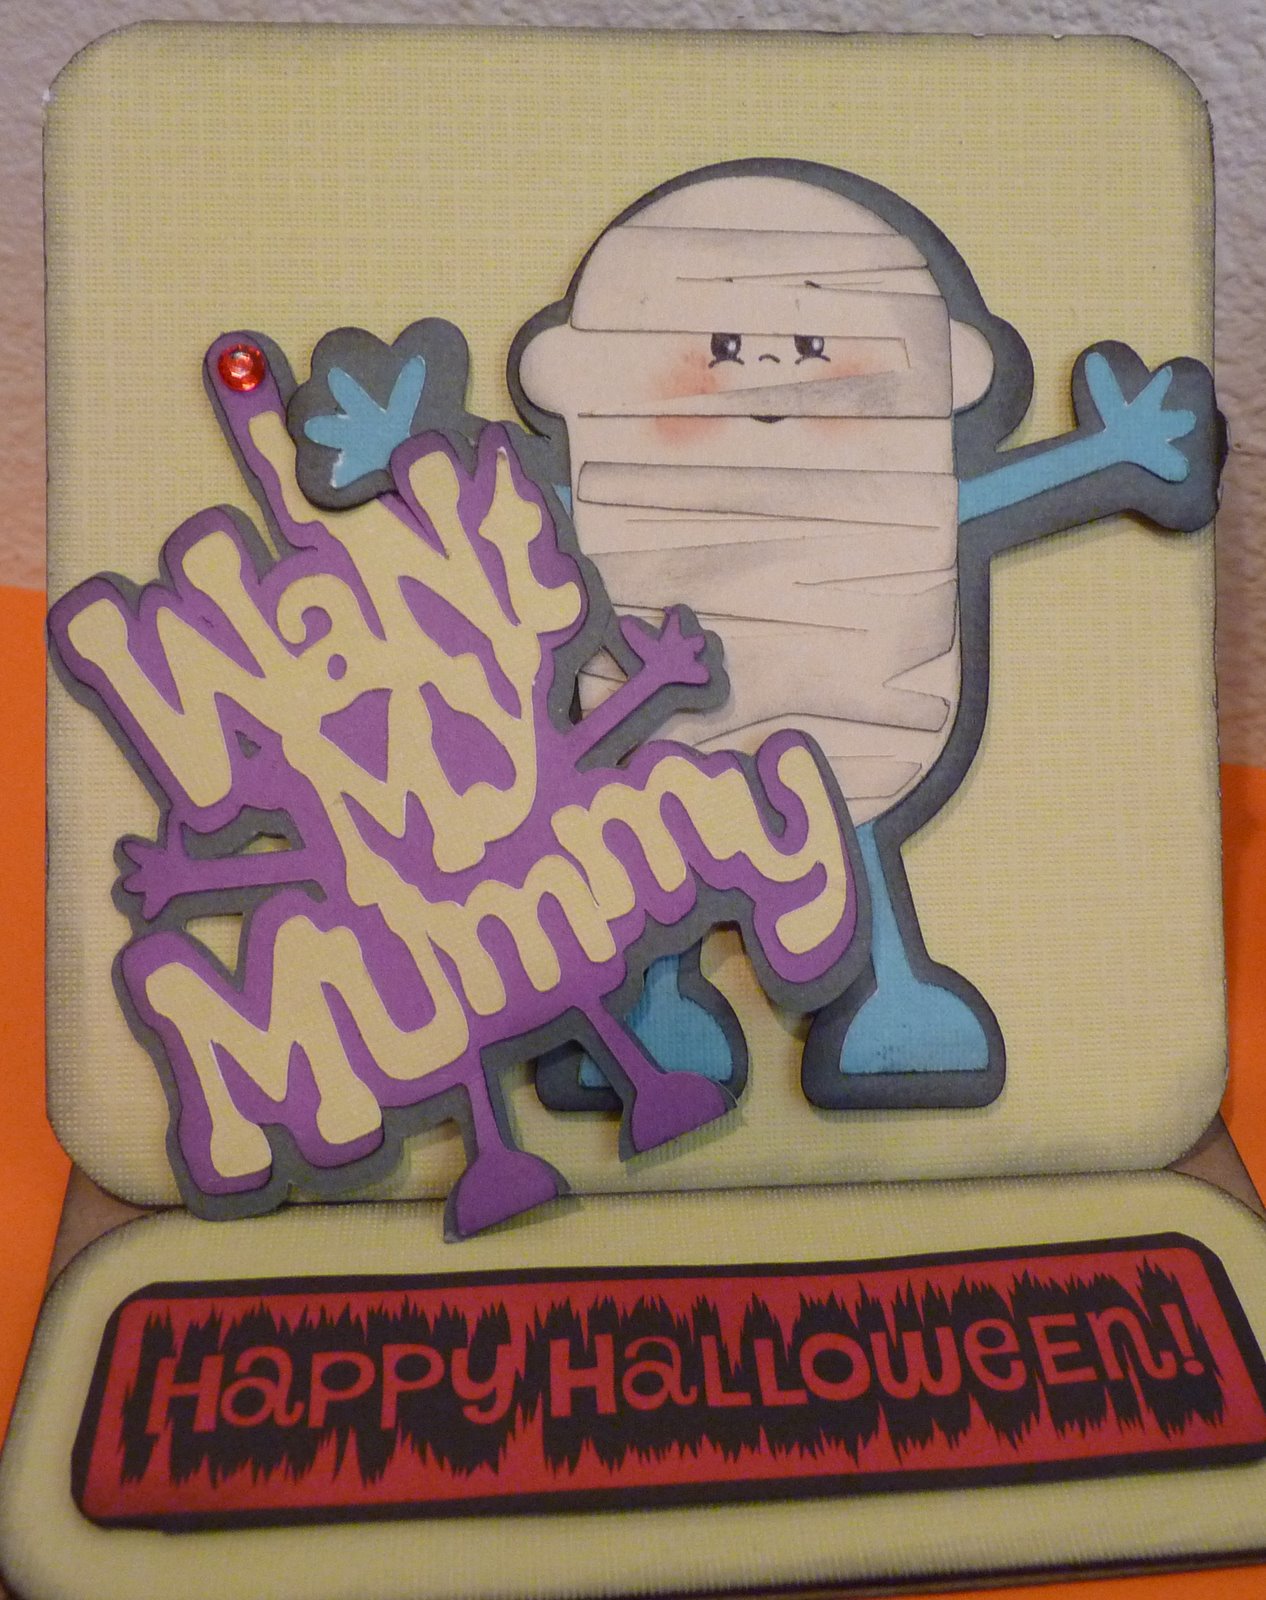
I made these three easel cards for my adult kids, they still 'want their Mummy' I'm sure
Cricut Cartridge Mini Monsters
(the card wasn't my idea, I saw one similar one another blog and just had to make them myself so sorry can't remember or find the blog, if it was you please let me know so I can give credit for your inspiration!!!)