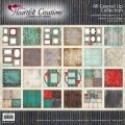
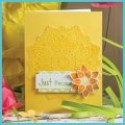
a Cut at Home Design Team Project

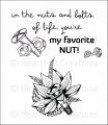
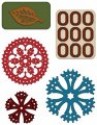
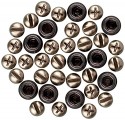
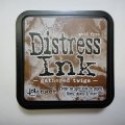
This is the card I made for my friends birthday, I think it will be perfect since he's a real do it yourselfer. I used a scrap from an old cardboard box to cut the gears from and love that look. When you add a little Distress ink (I used Gathered Twigs and Evergreen Bough) it makes them look even more rusty and old. Perfect!

Come and join me on the video, I'll share more ideas of how I created this card, fast forward so you can see it put together and end with a few more photos to inspire you to make some cards for those guys in your life today.