

 Kristine Werner is doing the 25 days of Christmas Cards on her blog. This idea came from her video today. I'm having a hard time getting the embossing to be as crisp as hers is. I'm thinking maybe it's the powder I bought so I'm going to hunt for some clear and see if it creates a sharper design.


 The challenge - to create a card with Little Snowmen, well mine aren't all snowmen, or are they?? I used my new Martha Stewart punch which I love. I had kept 4 pastel strips that were the remains of other cards I had done, I almost tossed them becasue they were less than an inch wide and I'm so glad I didn't. When I got home with the new punch today they were the perfect size to make edgers for my cards. The bottom of the blue and white strips were made with a tearing tool I just got from Creative Memories. The little 'snowmen' are from a JoAnn paper stack called Peppermint Forest
 The challenge was to use the word 'treasure' in a general card, one that could be customized to fit any occasion.

 You know this card business can become obsesive! We went to Costco this afternoon and the other half bought a jug of peanuts. When he opened the lid and peeled the perfectly clean seal off, I said 'don't toss that in the garbage I can put it through my Cuttlebug'. Well I think he's getting used to these statements, he just calmly handed it over. It was a perfect circle and backed by a heavy weight white glossy back. It went through the Cuttlebug like butter and the embossing was deep and nice.

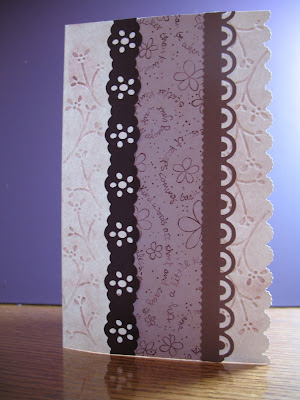
 I have had these laser cut border trims and finally dug them out tonight to add to the border edge I made with my new EK Punch, which I love, it's so smooth when you press it, unlike the Fiskars one I have that you have to stand up to push.
 The center strip on the front is the wheel stamp Kindness from Stampin Up
 The paper under the oval has been stamped with a roller stamp from Stampin Up. The paper is some I got from Costco last year that's like a natural paper fiber. I love it and just wish I'd bought several packages.
 The card didn't seem large enough when I finished so I attached it to a framing of purple cardstock, so it's a little different but I like the look.
 I had seen a video where they embossed using tin foil

 Love the look but want to try it again with the heavy duty foil. Someone said today you can use a pop can and emboss the inside. Hmmmm I'll have to try that as well.