I made sets of cards to take home to my Granddaughters when we went to visit.
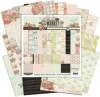
One Granddaughter loves Hello Kitty and Michaels had a 12x12 paper pad on sale for $5.00!!
Of course I grabbed it. I was hunting for something to put the finished cards in and
ran across the refills for my Xyron 5" machine, they were perfect, holding up to
12 cards a box. The girls can keep them or empty the cards out to use the box
to house a gift.

These are super simple, fast and fun cards!
I started making them just a couple of days before
we were to leave! So nothing could be too involved in order
to get them all finished in time.

I used odds and ends from around my crafty area to
embellish and bling up.

The paper came with a couple of envelopes you cut out
and folded so of course I had to make a few more for some
of the other square cards. Such fun.

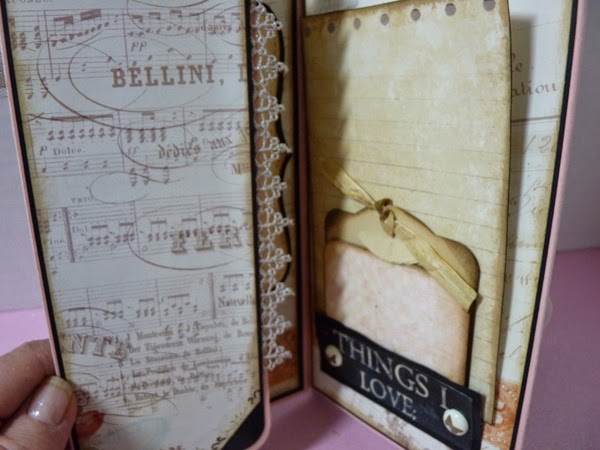
A little pocket and tag tucked in front, or

a magnetic flip up celebrating

a birthday.

Many little pieces to fussy cut from the paper.

Hello Kitty, so so cute


More of those

folded envelopes

and half a kitty inside (I'd use the other half on another card)

Peek a boo, the envelopes just unfold to reveal the card inside

A little flying mouse along my pennant border

I hadn't done a bow like this for so long, have you done this?
So simple, poke two holes run the ribbon from the front to the
back through the holes, cross over and return to the front
through the opposite holes.

I have these fabric letters and I have such a hard time
trying to figure out how to use them, but they worked out
pretty good on the front of this card.

just having fun and playing can produce cards that
serve the purpose and are great to give as well

Doesn't take much to make this Kitty sparkle


 showcases Kitty on the inside


I tried to add a little glitter, a little bling on each card

and utilize some punches that had been neglected for way too long!

little cut out window with sparkles all around


love the papers, the color combos are just great.
This was a fun project, not mind boggling just
taking time to revert back to the basics and
have a good time in the process.
You can view a short video here showing more of the cards and views: