You've caught me, I have decided to try out for the 2013 Graphic 45 Design Team and as part of my audition I am posting some of my favorite projects for their review. Your encouraging comments are most welcome. Links to prior blog posts or YouTube videos that go into more design detail will be under each project. Thanks everyone for stopping by! Patti
~ *~
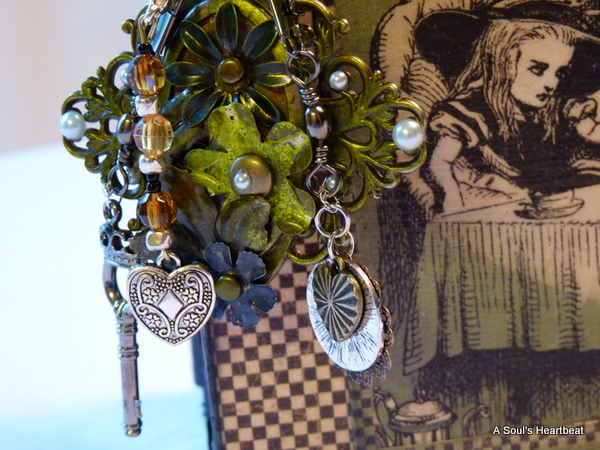
This was such a fun project using the Halloween in Wonderland.
It's one of the few projects that I got to fill the book with
photos after I was done, a real treat.

I need a place to stash a RAK and this little lunchbox provided
just the right space. You can use up so many little bits
and pieces on a project like this.
Little Darlings, such a fantastic baby line I've used it often.
This was for a baby shower and was sure a hit.
Having the box that houses the mini is such a fabulous idea.
The biggest problem is holding back on bling and baubles due to
size restraints with the box and the growth the photos will add.

Loved making this mini for a friends wedding gift.
I cut the front gated scrollwork on my Cricut
and then tucked the gorgeous bride behind.
So much room for the wedding memories.
I find it amazing sometimes how many
photos can be placed in a 'mini'.

YouTube
Blog Post
~ * ~

I'm not a big fan of 3 ring binders but this had been sitting in my stash for so long
and I must admit I was very happy with the end result.
I was making this for a baby gift for someone that doesn't work
with all the flips, flaps, pages and tuck in's that we addicted crafters
tend to include. So I kept it a little more manageable and I think
the construction lends itself to that.
There is no better paper line than Graphic 45 for creating cards,
Those images just scream, "Add Me"
when I'm searching for supplies to use.
It's a great way to use up all the end pieces left over from larger projects.

Blog Post -
Strut Your Stuff
Putting on the Ritz
Applause
~ * ~
I have made many projects with
supplies other than
Graphic 45 and
have showcased just
a couple for review here.

This was hard, I made this mini for my Great Nephew and his new bride.
The hard part, I hadn't seen him in years and have never met her.
After a few emails back and forth I got a feel for what
she was like and would like.
The email I got after this stopped on her doorstep
had me smiling ear to ear.
She liked it!
~ * ~
Another wedding album.
Sometimes I think my projects take on a life of their own.
I started with just some black cardstock and then the pages began
to roll forward. I loved how this had so much room for so many large
photos. Using some of the papers I made matching flowers for inside and out.
I seem to stall when I get to the covers, I think and overthink
what I want to do and how it will look. This was the first time I'd used a
chain closure which made a very dramatic front cover.
~ * ~
Thank you Graphic 45 for producing a fabulous line of products
that so inspires me to create and stretch my
crafting soul.