a Cut at Home Design Team Project
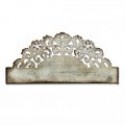
Hi everyone today I'm going to be sharing some cards I made using Tim Holtz On the Edge Distressed Doily Die. I had been browsing Pinterest for inspiration when I ran across a card that had been made with a doily die on the front. I've had this die in my crafty drawer for quite some time, just quietly calling me to come and create with it. Well finally I heard the call and brought it out to see what I could come up with. I'm pretty happy with the outcome.
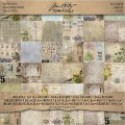
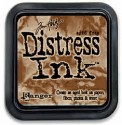
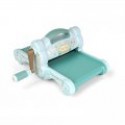
I opened up my card base and laid the die on the top and cut it like an arc half way down the card. I recut it again with a sheet of decorative paper from Tim Holtz Wallflower collection. Actually you can cut the two together, I discovered this the second time around and I found it will all depend upon the weights of your papers and your die cutting machine, I use a Sizzix Big Shot. Play around a bit and see if you're able to cut your two layers at one time allowing for a perfect line up. Since I'd cut my papers separately they were off a little, no problem I lowered the decorative paper a smidge and then added a layer of foam adhesives between them. Before adhereing the lower edges together I sandwiched a piece of seam binding between them with Scor-Tape. I dyed the Hug Snug seam binding with Forest Moss Distress Ink making a perfect match with my papers.
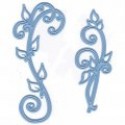
To finish off the inside I embossed in black the Just Rite Stampers sentiment from the Black-Eyed Susan Vintage Labels Five set. I mounted the stamped sentiment on a Spellbinders Vintage Label 36 and mounted them atop a piece of frayed burlap. Tucked on the one side were birds and leaves I'd fussy cut from the papers and across the bottom of the sentiment mat I added a Vintage Swirl from Marianne Designs that I'd cut from white and colored with the distress ink. There's plenty of room on the back of the front to write your personal message.
This time I even added some decorative elements to the back, along with the year and my name. I always sign and date my cards, I hope you're doing that as well. Check out my video below to watch the step by step to make the card and a couple of other card ideas for inspiration. Thanks so much for stopping by I hope you'll become a subscriber to my blog as well as YouTube and Facebook.
~~~Supplies~~~




2 comments:
Totally gorgeous and I enjoyed your video too! Thanks so much for sharing!
Hugs, Cathy-Lynn
Patti this is just gorgeous.
Post a Comment